Microsoft Defender

This guide walks you through enabling Microsoft Defender API access in ThreatDefence SIEM.
Requirements:
- Access to Microsoft 365 services (Microsoft 365 Compliance Center, Azure Active Directory)
- Premium P1/P2 Licensing (ThreatDefence will automatically extract available security events based on your license tier)
Step 1: Grant API Permissions in Azure
1. Register an Application
- Create an Application ID and secret as described in the Microsoft 365 Guide.
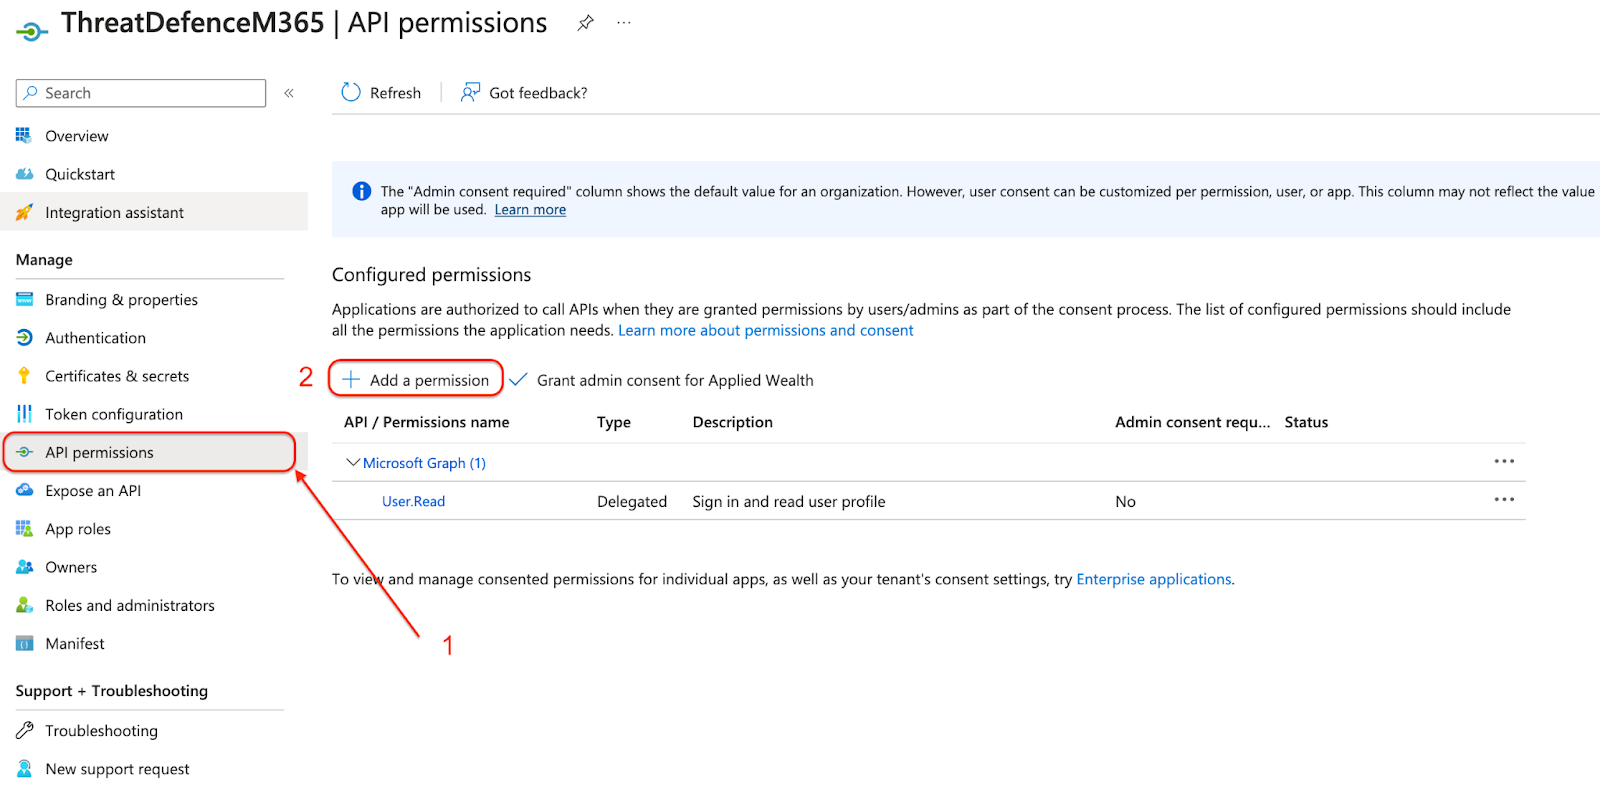
2. Assign Windows Defender ATP Permissions
- In your application page for ThreatDefence, go to API Permissions > Add permission > APIs my organization uses.
- Search for WindowsDefenderATP and select it.
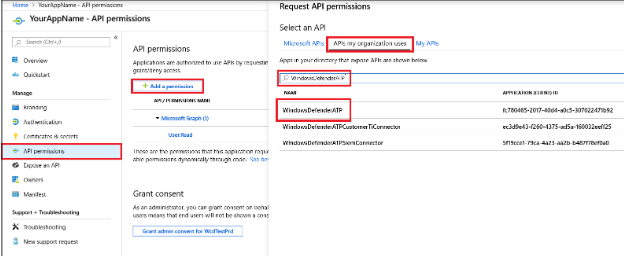
- Select Application Permissions and add the following:
Standard Permissions
Alert.ReadWrite.All
Score.Read.All
Machine.Read.All
SecurityBaselinesAssessment.Read.All
SecurityRecommendation.Read.All
Software.Read.All
Ti.Read.All
Vulnerability.Read.All
Host Isolation Permissions (Optional)
To enable Host Isolation features, also add:
Machine.Read.All
Machine.Isolate
- Click Add Permissions.
3. Assign Microsoft Threat Protection Permissions
- In your application page for ThreatDefence, go to API Permissions > Add permission > APIs my organization uses.
- Search for Microsoft Threat Protection and select it.
- Select Application Permissions and add:
Incidents.Read.All
- Click Add Permissions.
4. Grant Admin Consent
- Click Grant admin consent for [Your Organization] to grant the permissions you just added.

Step 2: Configure ThreatDefence SIEM
- Provide ThreatDefence with Client Information:
- Send the following details to your ThreatDefence representative at support [at] threatdefence.com:
- Application ID (Client ID) obtained in Step 1 or from the Microsoft 365 Guide
- Tenant ID obtained in Step 1 or from the Microsoft 365 Guide
- Send the following details to your ThreatDefence representative at support [at] threatdefence.com:
Need Help?
If you have any questions or need further assistance, please contact: support [at] threatdefence.com